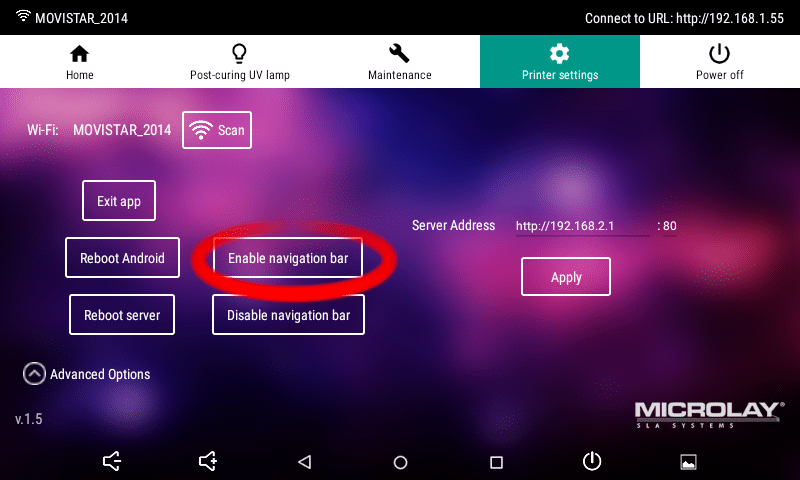
- Enable Navigation Bar: Printer Settings>Advanced Options>Enable Navigation Bar (Android will Reboot)
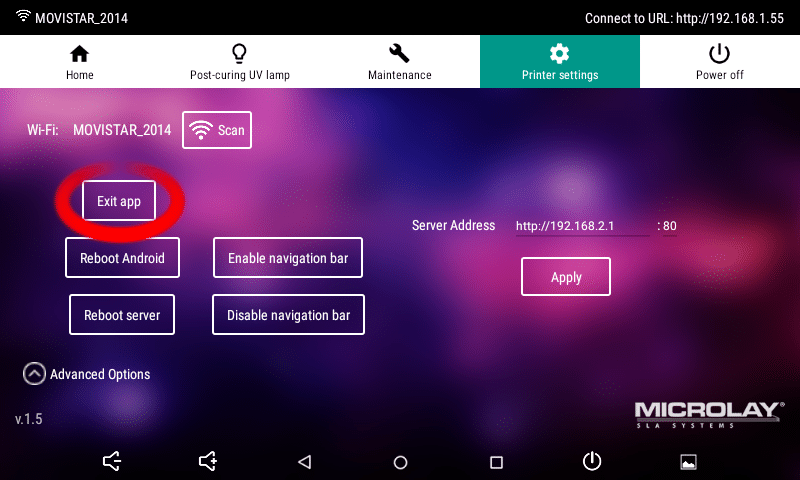
- Exit App.
- Introduce USB pendrive on the printer
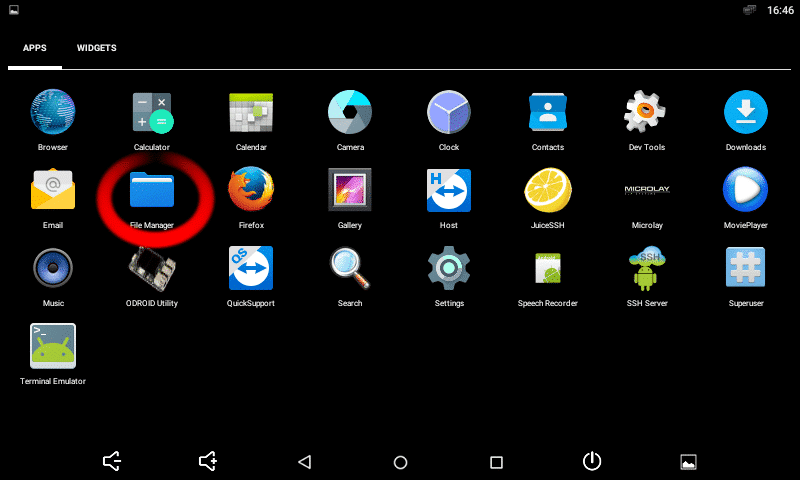
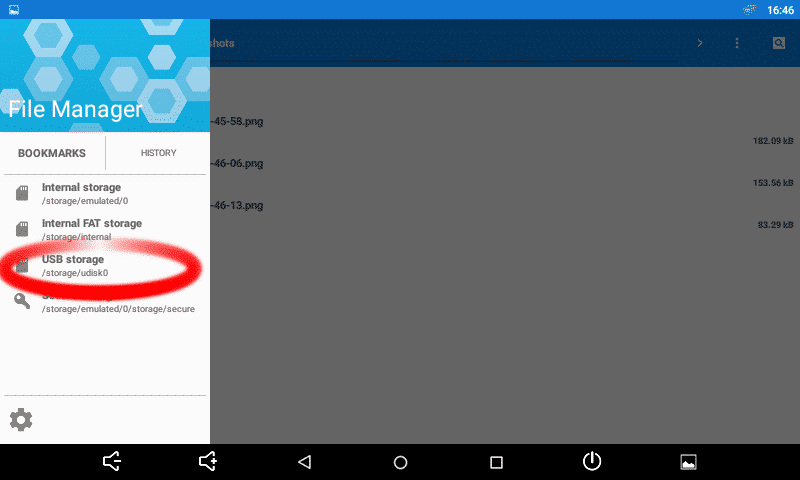
- Open File Manager app from the Android Dashboard, Clic on the upper left icon (imagen) and then on Bookmarks tab and then clic on USB Storage

- Browse to your apk file and clic on it. Android will prompt to install the app, clic on YES, accept all permission.
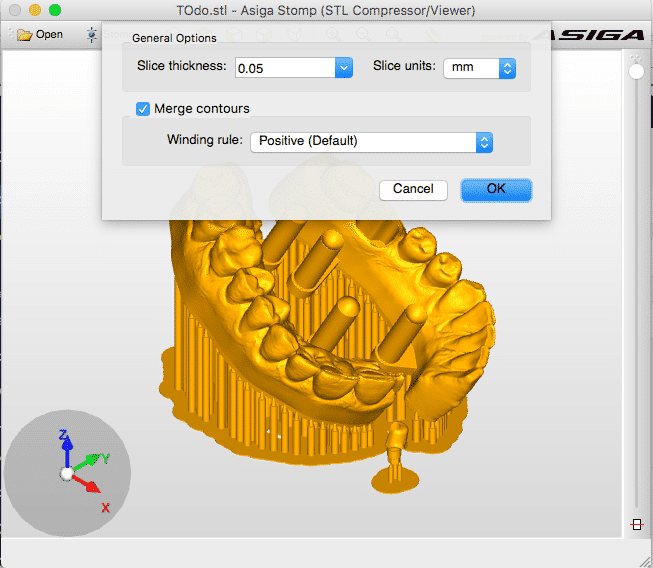
- Download and install Asiga Stomp software.
- Open Stomp and STL file.
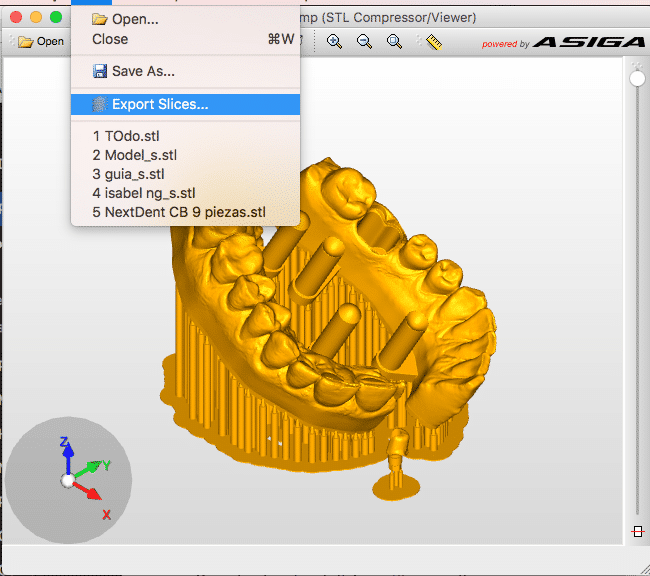
- Clic on File>Export Slices and choose a name for the file
Choose the desired layer thickness according to the profile you want to use, usually 0.05mm for 50 microns or 0.1mm for 100 microns.

- Export SLC file, this type of file is compatible with Microlay printers.
- Use the Automatic Supports… feature. Top Menu>Support Tools>Automatic Supports…
- Use the value for Supports Density: 35-40%
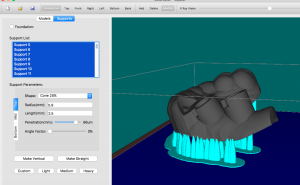
- When is done, select all the supports created and modify them using those values:

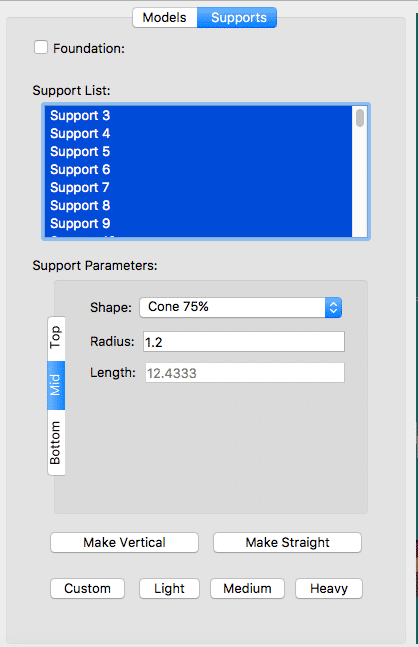

NOTE: Custom values for supports could be saved following next steps:
- Make Sure Custom preset is selected on the side bar and no support is selected
- Modify the support values like the previous screenshots
- Then you can use the preset selecting the supports you want to modify and then clicking on the Custom button


Recent Comments