Category

Tutoriels

Comment installer Autodesk Print Studio et le patch pour le DentalFab 1/1b

By Non classifié(e), Tutoriels No Comments

Autodesk Print Studio est un excellent logiciel gratuit pour réparer les maillages et préparer vos modèles pour l’impression 3D. Il est disponible pour Windows et Mac. Pour l’installer, suivez les étapes suivantes :

  1. Téléchargez le fichier d’installation à partir de la page Autodesk et suivez les instructions d’installation.
  2. Téléchargez le patch script pour Windows et double-cliquez sur le fichier Configure Print Studio.bat.
  3. Exécutez le logiciel et profitez-en.

Remarque : Print Studio n’est pas compatible avec les mises à jour ultérieures de Windows 10 Creators.

Liste de lecture : Maîtriser Print Studio pour Microlay Versus

By Non classifié(e), Tutoriels

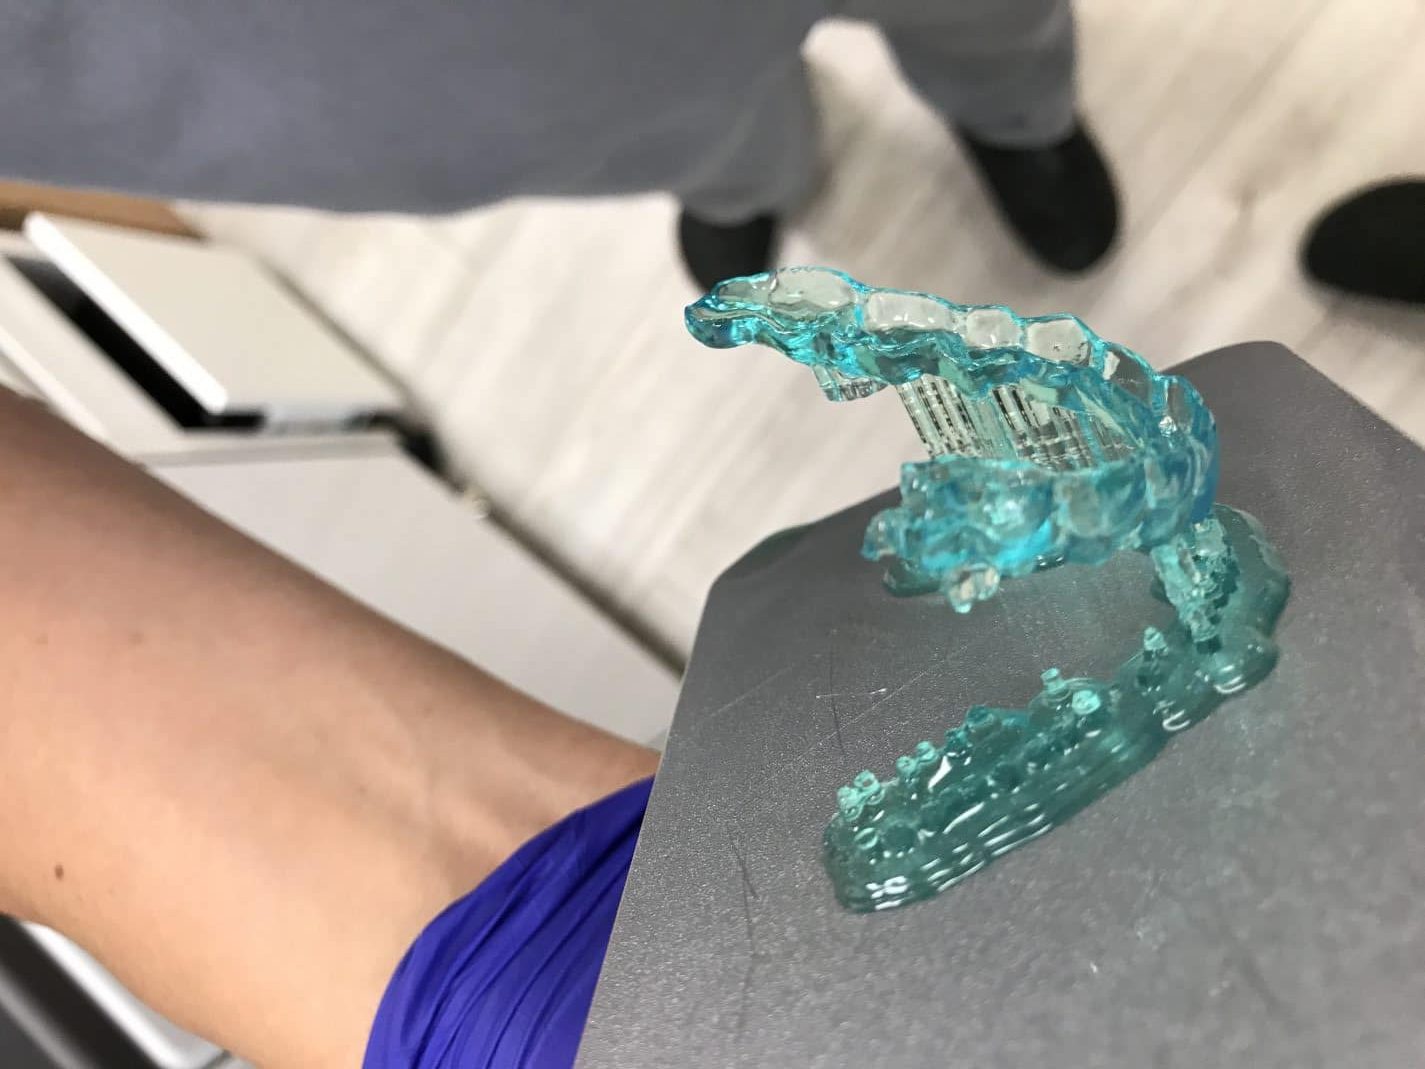
La préparation correcte de vos appareils pour l’impression 3D est une étape cruciale pour une impression réussie. En raison de leurs formes organiques, les appareils dentaires sont parfois difficiles à supporter. Nous avons préparé cette liste de lecture pour comprendre la meilleure façon d’orienter et de soutenir chaque appareil dans Print Studio.

Autodesk Print Studio est un outil formidable et gratuit qui permet de réparer des maillages, de placer des objets sur la zone d’impression, d’ajouter des supports et enfin d’exporter en STL avec une taille de fichier raisonnable. Nous vous montrons ici comment installer le logiciel et le patcher pour Microlay Versus.

Lancer le téléchargement du paquet d’installation

Échec des tirages, pourquoi et que faire ?

By Soutien, Tutoriels No Comments

Bien que la manipulation d’une imprimante 3D soit généralement simple, le stress causé par l’immédiateté d’un besoin, le manque d’entretien de la machine ou même le manque de formation de l’opérateur peuvent être à l’origine de défaillances.
Le plus important dans ces cas est d’examiner attentivement l’impression qui a échoué et d’essayer de trouver ce qui a pu échouer.
Nous avons créé un tableau pour vous aider à identifier les causes de l’échec de l’impression.

wdt_ID Symptoms Causes Fixes
1 • Supports were printed total or partially. • The part was pulled from the supports. • There are solid remains stuck on the bottom of the tank. INCORRECT STL PREPARATION • Support tips not strong enough. • Not enough support density. 1. Clean the tank and filter the resin. 2. Use a stronger supports, increase the radius of the tip support and reinforce the lowest area of the part adding manually some more supports.
2 • Nothing stuck on the platform and there are solid remains stuck on the bottom of the tank • The base of the supports or part is partially detached from side of the platform • Supports broken but NOT in the tip but in the post. Levelling problems, the platform isn't coplanar with the bottom of the tank at the begining of the print. 1. Clean the tank and filter the resin. 2. Check that FEP film is correctly installed and touching the glass base all around. 3. Check that there are no cured resin stuck on the platform nor the bottom of the tank 4. Run a levelling wizard
3 Model partially cured, some soft parts, print failed and there are solid remains stuck on the bottom of the tank Wrong profile (not enough curing time) 1. Check that you have used the right profile
4 Model partially cured, some soft parts, print failed and there are solid remains stuck on the bottom of the tank Lamp is near of its useful like (not enough lamp power) *Only in DentalFab 1. Replace the lamp of the projector
5 Model is oversized Wrong profile (too long curing time) 1. Check that you have used the right profile
6 The model was printed but the height on the Z axis is much larger or shorter Incorrect SLC file generation 1. Check that the layer height used for the SLC file generation are equal to the profile layer height
7 Nothing stuck on the platform nor the bottom of the tank • DLP Light Engine failed • Lamp/LED failure 1. Contact your distributor
8 Holes or Fractures • Mesh issues • Orientation issues • Dust, fingerprints, resin leak or dirt in the light path • Repair mesh • Change orientation, here are some clues: https://microlay.com/2018/07/10/playlist-mastering-print-studio-for-microlay-versus/ • Clean mirror (in case of the DentalFab), glasses and replace FEP film
9 Rashing and Ragging • Dust, fingerprints, resin leak or dirt in the light path • Clean mirror (in case of the DentalFab), glasses and replace FEP film
10 Shifting Model prints with the layers appearing to shift back and forth, loose • Check to see if your build platform is loose • Increase the supports post radius

Mise à jour de l’application Microlay

By Tutoriels No Comments
  1. Activer la barre de navigation : Paramètres de l’imprimante>Options avancées>Activer la barre de navigation (Android redémarre)
  2. Quitter l’application.
  3. Introduire une clé USB sur l’imprimante
  4. Ouvrez l’application Gestionnaire de fichiers depuis le tableau de bord Android, cliquez sur l’icône en haut à gauche (image), puis sur l’onglet Signets et enfin sur Stockage USB.
  5. Recherchez votre fichier apk et cliquez dessus. Android vous demandera d’installer l’application, cliquez sur OUI, acceptez toutes les autorisations.