


Obwohl die Handhabung eines 3D-Druckers im Allgemeinen einfach ist, kann der Stress, der durch die Unmittelbarkeit einer Anforderung, die mangelnde Wartung der Maschine oder sogar die fehlende Ausbildung des Bedieners verursacht wird, zu Fehlern führen.
In diesen Fällen ist es am wichtigsten, den fehlgeschlagenen Druck sorgfältig zu untersuchen und herauszufinden, woran es gelegen haben könnte.
Wir haben eine Tabelle erstellt, die Ihnen helfen soll, die Ursachen für den fehlgeschlagenen Druck zu ermitteln.

- Laden Sie die Asiga Stomp Software herunter und installieren Sie sie.
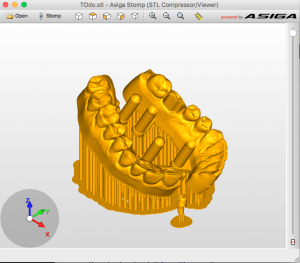
- Öffnen Sie Stomp und die STL-Datei.
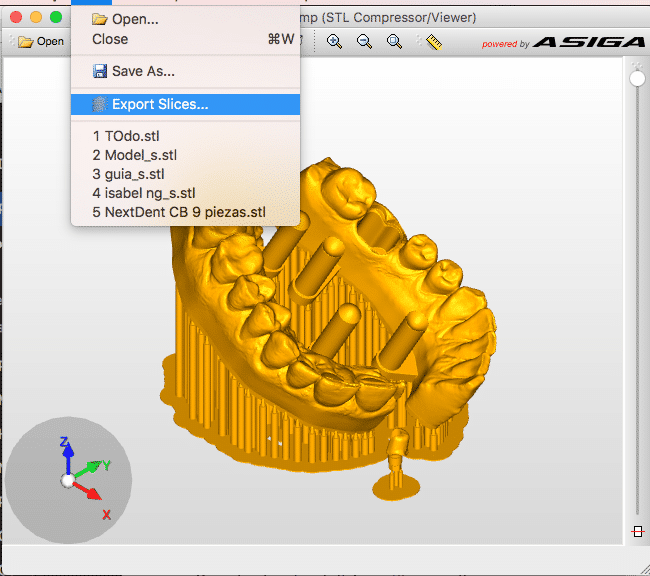
- Klicken Sie auf Datei>Slices exportieren und wählen Sie einen Namen für die Datei
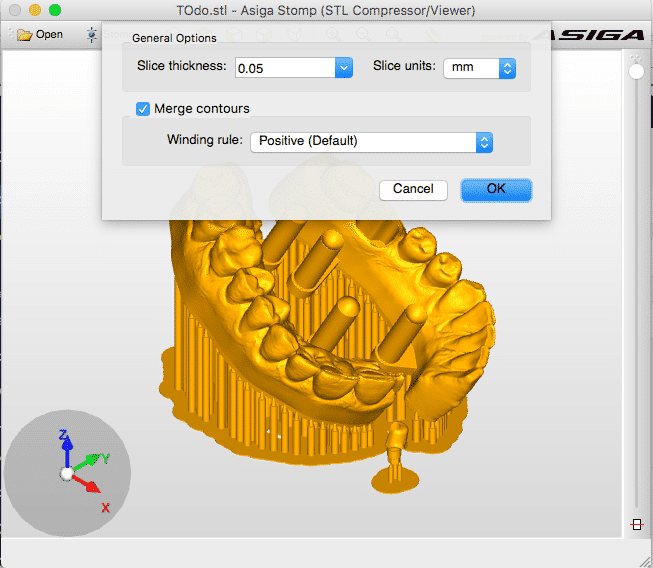
Wählen Sie die gewünschte Schichtdicke entsprechend dem Profil, das Sie verwenden möchten, normalerweise 0,05 mm für 50 Mikrometer oder 0,1 mm für 100 Mikrometer.
- SLC-Datei exportieren, dieser Dateityp ist mit Microlay-Druckern kompatibel.
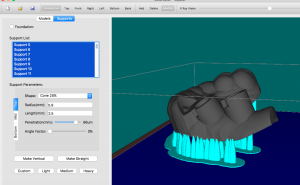
- Verwenden Sie die Funktion “ Automatische Stützen…“. Top Menu>Support Tools>Automatische Unterstützungen…
- Verwenden Sie den Wert für Supports Density: 35-40%
- Wählen Sie anschließend alle erstellten Halterungen aus und ändern Sie sie mit diesen Werten:


HINWEIS: Benutzerdefinierte Werte für Stützen können nach den nächsten Schritten gespeichert werden:
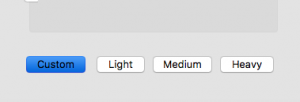
- Vergewissern Sie sich, dass die Voreinstellung Benutzerdefiniert in der Seitenleiste ausgewählt ist und keine Unterstützung ausgewählt ist.
- Ändern Sie die Stützwerte wie in den vorherigen Screenshots
- Dann können Sie die Voreinstellung verwenden, indem Sie die Stützen auswählen, die Sie ändern möchten, und dann auf die Schaltfläche Benutzerdefiniert klicken.

Wir nehmen zum ersten Mal an der IDS 2017 (Colonne, Deutschland) teil. Wir werden unsere DentalFab in Halle 5.1, C71 ausstellen. Sie konnten die DentalFab auch in einigen anderen Ständen wie der Dentona oder Imes Icore sehen.
Wir würden uns freuen, Sie dort zu sehen!
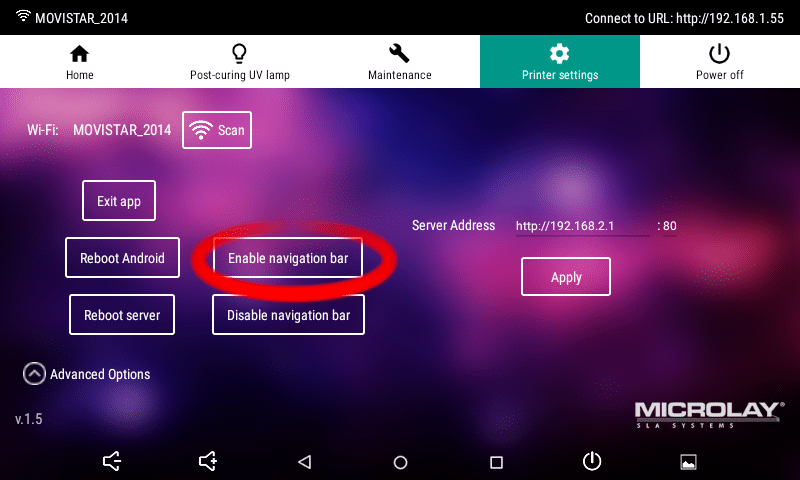
- Aktivieren Sie die Navigationsleiste: Druckereinstellungen>Erweiterte Optionen>Navigationsleiste einschalten (Android wird neu gestartet)
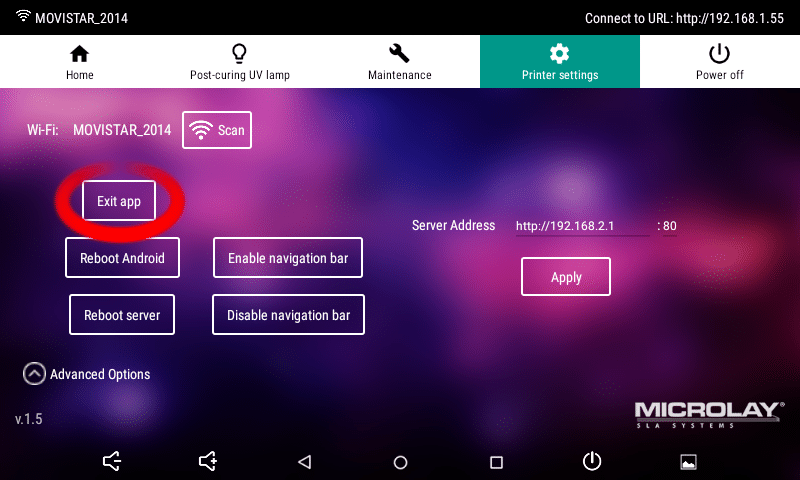
- Beenden Sie die App.
- USB-Pendrive am Drucker einführen
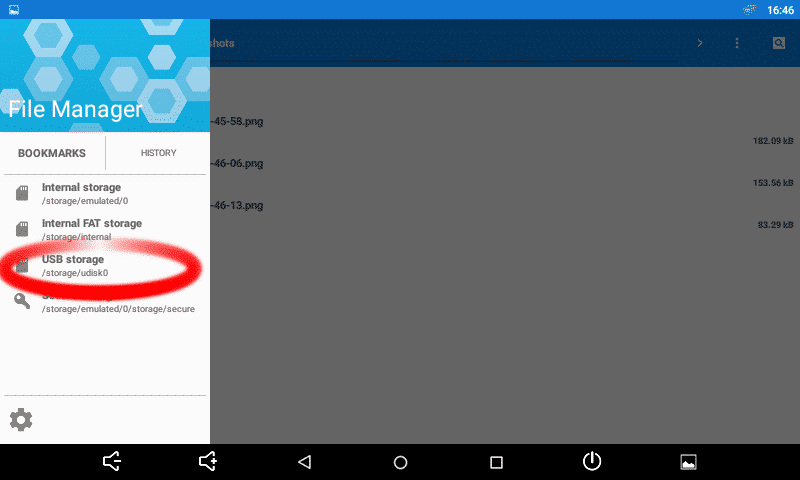
- Öffnen Sie die Dateimanager-App auf dem Android-Dashboard, klicken Sie auf das Symbol oben links (Bild) und dann auf die Registerkarte Lesezeichen und dann auf USB-Speicher

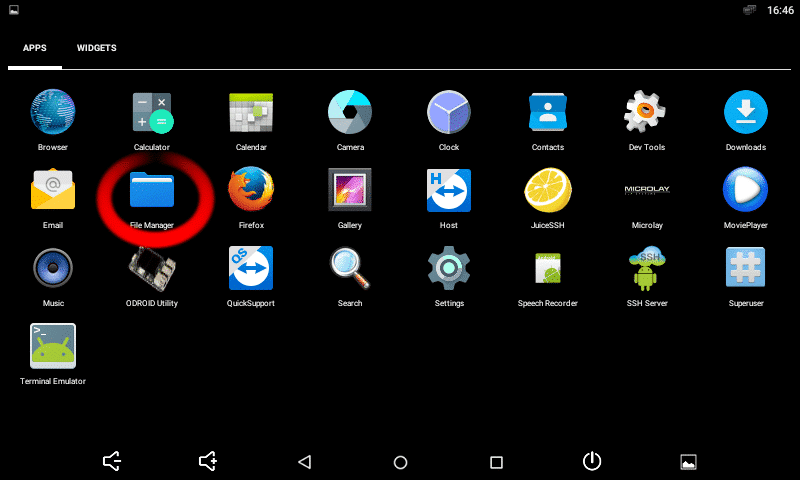
- Suchen Sie Ihre apk-Datei und klicken Sie sie an. Android wird Sie auffordern, die App zu installieren, klicken Sie auf JA, akzeptieren Sie alle Berechtigungen.
Error
You are trying to load a table of an unknown type. Probably you did not activate the addon which is required to use this table type.
You are trying to load a table of an unknown type. Probably you did not activate the addon which is required to use this table type.


Recent Comments