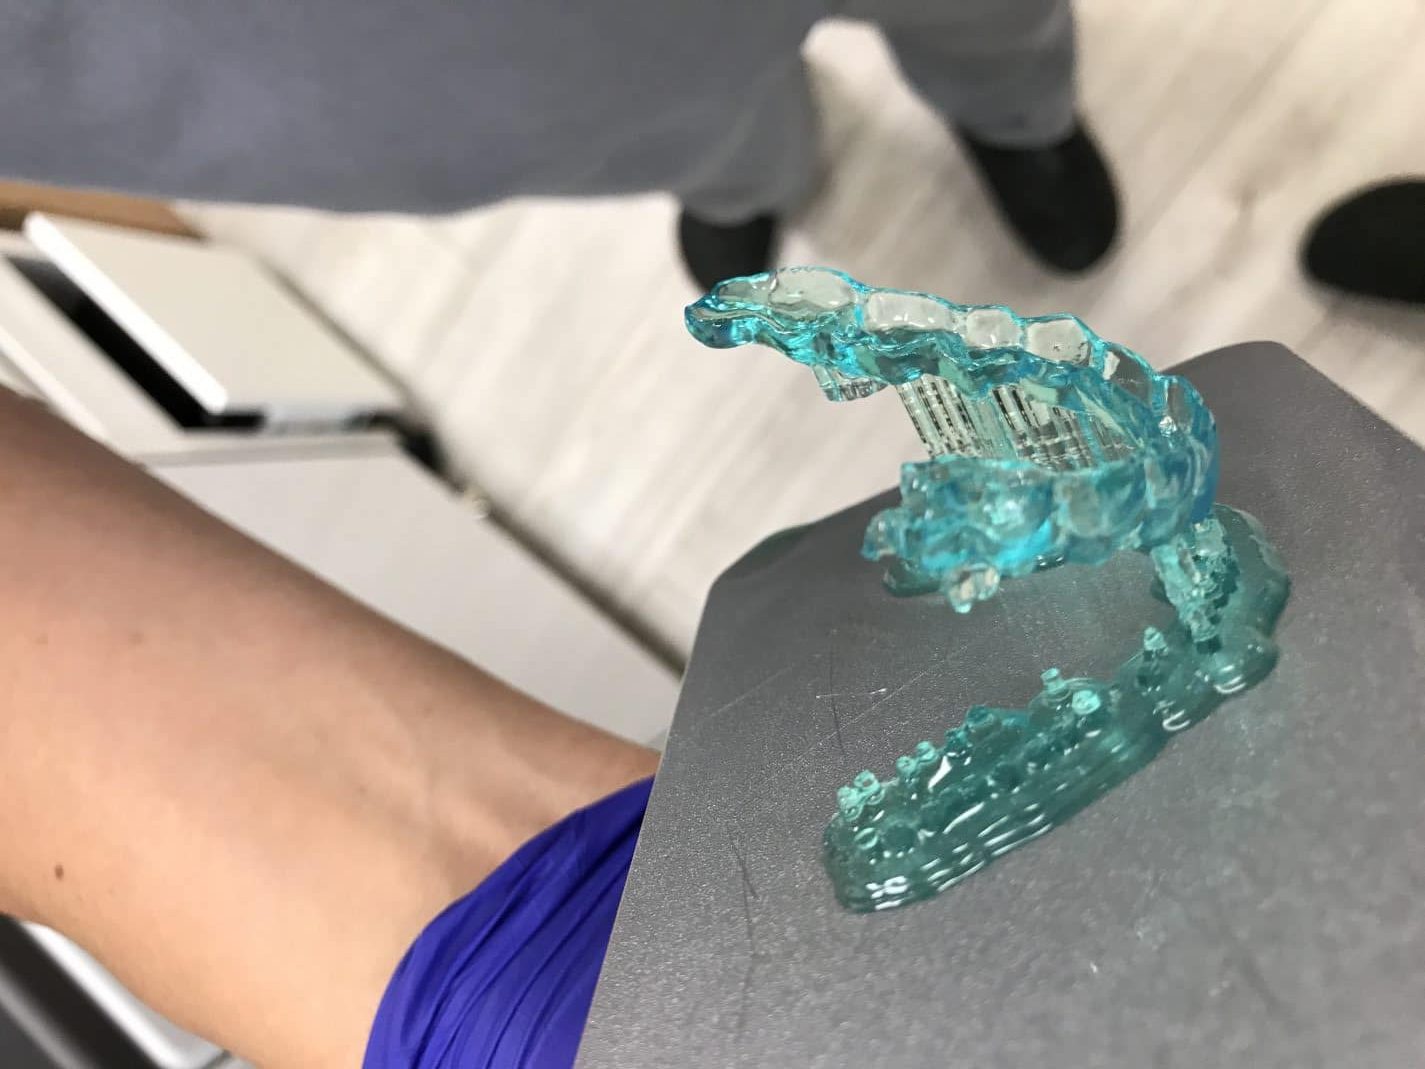
Obwohl die Handhabung eines 3D-Druckers im Allgemeinen einfach ist, kann der Stress, der durch die Unmittelbarkeit einer Anforderung, die mangelnde Wartung der Maschine oder sogar die fehlende Ausbildung des Bedieners verursacht wird, zu Fehlern führen.
In diesen Fällen ist es am wichtigsten, den fehlgeschlagenen Druck sorgfältig zu untersuchen und herauszufinden, woran es gelegen haben könnte.
Wir haben eine Tabelle erstellt, die Ihnen helfen soll, die Ursachen für den fehlgeschlagenen Druck zu ermitteln.
| wdt_ID | Symptoms | Causes | Fixes |
|---|---|---|---|
| 1 | • Supports were printed total or partially. • The part was pulled from the supports. • There are solid remains stuck on the bottom of the tank. | INCORRECT STL PREPARATION • Support tips not strong enough. • Not enough support density. | 1. Clean the tank and filter the resin. 2. Use a stronger supports, increase the radius of the tip support and reinforce the lowest area of the part adding manually some more supports. |
| 2 | • Nothing stuck on the platform and there are solid remains stuck on the bottom of the tank • The base of the supports or part is partially detached from side of the platform • Supports broken but NOT in the tip but in the post. | Levelling problems, the platform isn't coplanar with the bottom of the tank at the begining of the print. | 1. Clean the tank and filter the resin. 2. Check that FEP film is correctly installed and touching the glass base all around. 3. Check that there are no cured resin stuck on the platform nor the bottom of the tank 4. Run a levelling wizard |
| 3 | Model partially cured, some soft parts, print failed and there are solid remains stuck on the bottom of the tank | Wrong profile (not enough curing time) | 1. Check that you have used the right profile |
| 4 | Model partially cured, some soft parts, print failed and there are solid remains stuck on the bottom of the tank | Lamp is near of its useful like (not enough lamp power) *Only in DentalFab | 1. Replace the lamp of the projector |
| 5 | Model is oversized | Wrong profile (too long curing time) | 1. Check that you have used the right profile |
| 6 | The model was printed but the height on the Z axis is much larger or shorter | Incorrect SLC file generation | 1. Check that the layer height used for the SLC file generation are equal to the profile layer height |
| 7 | Nothing stuck on the platform nor the bottom of the tank | • DLP Light Engine failed • Lamp/LED failure | 1. Contact your distributor |
| 8 | Holes or Fractures | • Mesh issues • Orientation issues • Dust, fingerprints, resin leak or dirt in the light path | • Repair mesh • Change orientation, here are some clues: https://microlay.com/2018/07/10/playlist-mastering-print-studio-for-microlay-versus/ • Clean mirror (in case of the DentalFab), glasses and replace FEP film |
| 9 | Rashing and Ragging | • Dust, fingerprints, resin leak or dirt in the light path | • Clean mirror (in case of the DentalFab), glasses and replace FEP film |
| 10 | Shifting | Model prints with the layers appearing to shift back and forth, loose | • Check to see if your build platform is loose • Increase the supports post radius |


Recent Comments